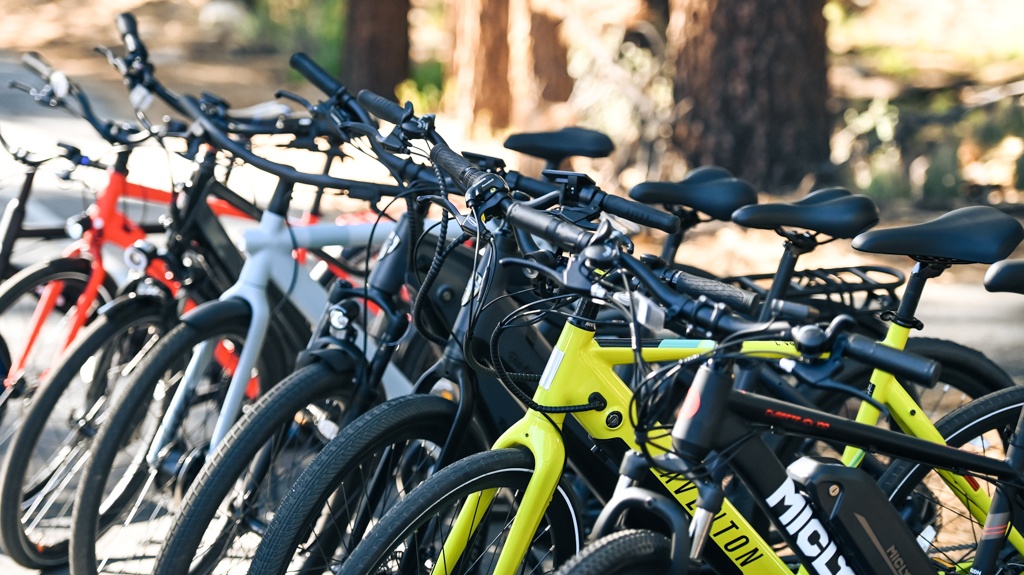
When we buy a new e-bike online, the first thing we had to do after receiving the package was to unbox and assemble our new e-bike. The assembly of FUNBIKE e-bike does not require professional skills and you don’t need to read the long installation manual. It only takes a few steps to assemble your e-bike! Funbike e-bikes are easy to assemble and maintain.

The first Step is to attach the handlebar. The package of our e-bike will contain a tool kit. Firstly, we need to remove the shim that inside front brake caliper, then remove the front fork guard. Turn it over and make sure the forks are forward. From the tool kit that come in with the e-bike, grab an allen wrench tool and loose one bolt and one bolt at a time. Once you have the clips loose, you are ready to install the handlebars. Install the handlebar and tighten each bolt. You may also need to adjust the direction of the handlebars while you ride the e-bike, and then the handlebars are installed well.
The second step is to install the pedals. Before installing the pedals, please distinguish which one is on the left and which one is on the right. You will see an L and R that cover on the axles. When you install the left pedal, be careful to turn the wrench counterclockwise. Conversely, when you install the right pedal, be careful to turn the wrench clockwise.
The third step is to install the front wheel. We should be very careful with this step. It will take more time than other steps. We need to take take down the axle guard, then carefully lower the fork and ensure the brake rotor goes into the caliper. Next we need to align the dropouts with the axle of the wheel hub to make sure the fork dropouts are fully seated on the axle. Then we should open the quick skewer and remove the thumb nut and cone spring. We have to install the quick skewer starting from the brake rotor side of the wheel and then push quick release skewer through the hub. The next step is to tighten the thumb nut until the quick release lever is held in line with the axle. Until now, we have completed the installation of the front wheel.
Now it is time to install some accessories. We will have the fender and light along with the package. We have to remove the nuts and bolts on front fork which used for fix fender. Then we need to put the fender on correct place and use bolts to hold it in the right position. Next we should tight the bolts on both side. We will install the screw pass through headlights and the bracket, then we will adjust the headlight properly for riding conditions. Don’t forget to tight the bolt to fix the light and fender. It is important to attach the connectors of lights.
Moreover, we have the assembly tutorial video for FUNBIKE Lion, beast, and Monster. (内嵌Youtube链接) You can watch these videos to see more details. If you still have questions, feel free to ask us!

Tom’s blog is your passport to adventure. If you’ve got an itch for travel and a love for the road, join him in exploring new horizons. His writing is the ultimate road trip planner and companion.
